Creating a Kubernetes cluster using K3s
Overview
I recently decided to build a locally hosted Kubernetes cluster in my homelab so that I can learn more about Kubernetes outside of the managed cluster services that I use in an enterprise environment.
The purpose of this post is to document the steps I went through to create the cluster and the materials that I referenced along the way.
Choice of distribution
There are a few options for deploying Kubernetes outside of public cloud environments, including a full K8s deployment or K0s, but I decided to go with K3s for a few reasons:
- It comes with “batteries included”, particularly in respect of having a service load balancer (Klipper) and ingress controller (Traefik) created during the install. This makes things simpler for an on-prem deployment as you don’t need to install MetalLB after standing up the cluster.
- It’s well documented.
- There’s a good level of community knowledge from similar projects (albeit the majority use Raspberry Pi clusters).
Choice of hardware
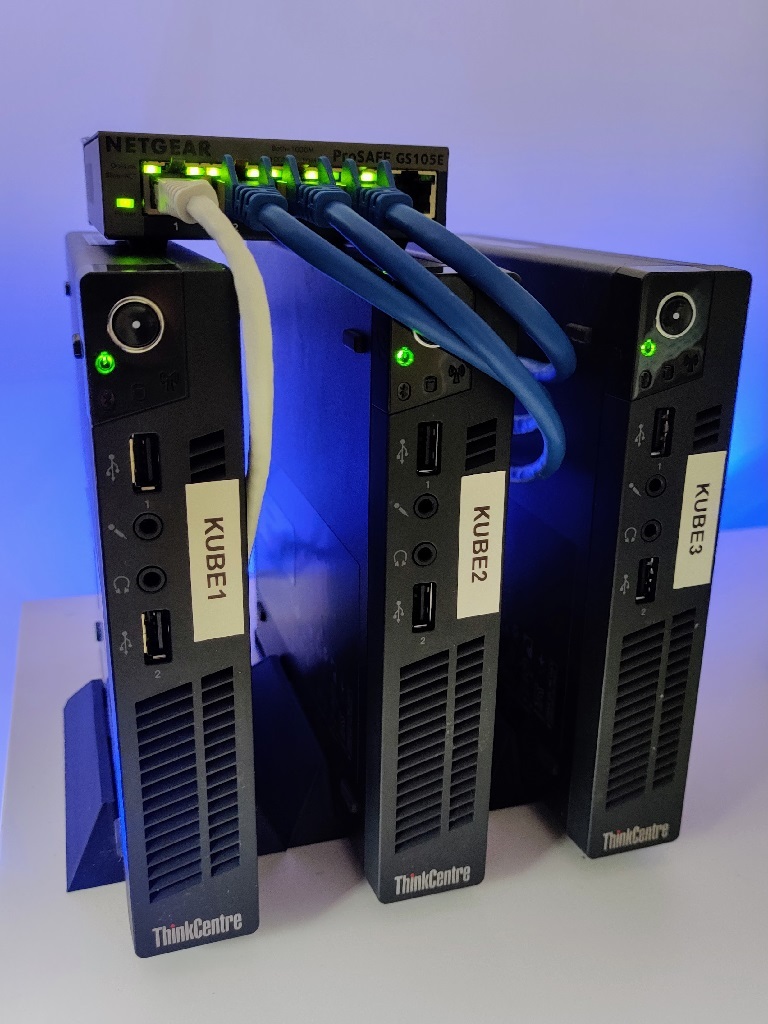
At the time of writing (August 2022) we’re still in the midst of a global chip shortage, which is heavily restricting the availability of single-board computers such as the Raspberry Pi. With single-boards not being a feasible, I thought about some alternatives for the cluster’s hardware, including Lenovo Thinkcentre Tiny PCs, which I already use for other workloads in my lab. After a quick bit of searching on eBay I found some reasonable looking Lenovo M72e Tiny machines for £40 each (cheaper than the Raspberry Pi 4 Model B).
The build
Prep
-
To start with, install Ubuntu 22.04 LTS on to the physical machines that will be the nodes in the K3s cluster.
-
Working with physical rather than virtual hosts can be a bit of a chore if you need to tear everything down and start again so I wrote the following Ansible playbooks to automate the boring stuff. The playbooks are available to download from this GitHub repo.
Playbook Name Description users.yml Creates a user account ( kube) and associated SSH key that’s used by Ansible.update.yml Updates package sources and upgrades any that are out of date. :warning: Note: You will need to update the Ansible
hostsfile with the specific hostnames of the target machines, as well as the account that you will initially use to runusers.yml.
Installing K3s
- After running the above playbooks (or manually configuring your machines), SSH into the machine that will be your K3s master node (
kube1in my case) and run the following command to execute the installation script:curl -sfL https://get.k3s.io | sh - - Next, get the value of node-token from the master node. You need this to attach worker nodes to the cluster.
sudo cat /var/lib/rancher/k3s/server/node-token - SSH into each of the worker nodes and run the following command to join them to the cluster, replacing the K3s server and node-token with the required details.
curl -sfL https://get.k3s.io | K3S_URL=https://[server IP]:6443 K3S_TOKEN=[node token value] sh - - A couple of minutes after running the installation script on your last worker node, validate that you have a working cluster by running the following command on your master node.
sudo k3s kubectl get nodes
Optional Extras
-
When getting things up and running it can be helpful to have a graphical interface on the server running the K3s master node so that you can access Kubernetes Dashboard without having to set up port forwarding. If you’d find that useful, run the following commands to install the Xfce desktop environment with Chrome on the master node:
# install Xfce $ sudo apt-get install xfce4 xfce4-goodies slim # start the GUI $ sudo service slim start # install Google Chrome (since Xfce doesn't come with a default browser) $ wget https://dl.google.com/linux/direct/google-chrome-stable_current_amd64.deb $ sudo apt install ./google-chrome-stable_current_amd64.deb -
Once you have a GUI you can install VNC Server to enable remote desktop connections.
 $ sudo apt install tightvncserver
 # start the VNC server instance
 $ vncserver -geometry 1920x1080
Post K3s install
With a working cluster you can go ahead and start to install the tools that you’d like to work with. Amongst other things you might want to:
Install Kubernetes Dashboard
Follow the official guide to install Kubernetes Dashboard on K3s and make it locally available.

Install Helm
Run the following commands on your master node to install the Helm package manager.
$ curl -fsSL -o get_helm.sh https://raw.githubusercontent.com/helm/helm/main/scripts/get-helm-3

$ chmod 700 get_helm.sh

$ ./get_helm.sh
Install Portainer
To install Portainer (Community Edition) using Helm:
$ sudo helm --kubeconfig /etc/rancher/k3s/k3s.yaml  repo add portainer https://portainer.github.io/k8s/
$ sudo helm repo update
$ sudo helm --kubeconfig /etc/rancher/k3s/k3s.yaml install --create-namespace -n portainer portainer portainer/portainer
Run the following commands to get the URL for your new Portainer deployment.
$ export NODE_PORT=$(sudo kubectl get --namespace portainer -o jsonpath="{.spec.ports[1].nodePort}" services portainer)
$ export NODE_IP=$(sudo kubectl get nodes --namespace portainer -o jsonpath="{.items[0].status.addresses[0].address}")
$ echo https://$NODE_IP:$NODE_PORT
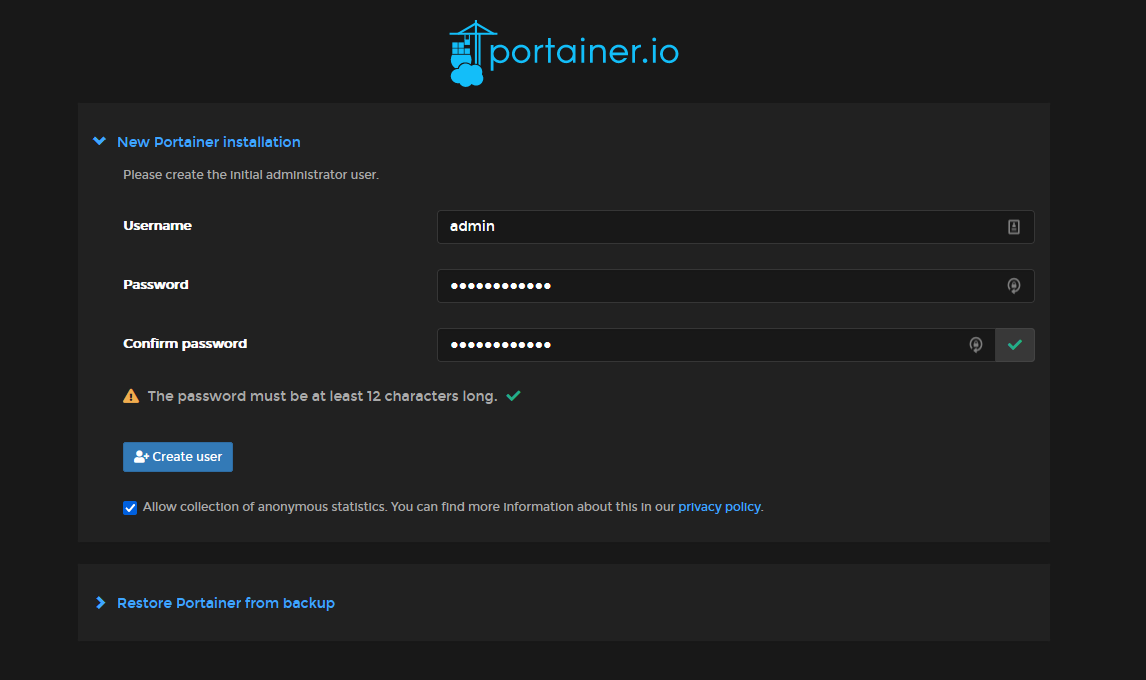
Navigating to the URL will present you with the initial page for creating an admin login for Portainer.
Next Steps
After configuring the cluster and your preferred management tool(s) the next step is to start with the basics of creating deployments and exposing them outside the cluster using services.