Running Red Hat OpenShift Local on an M3 Macbook Pro
Introduction
Red Hat OpenShift Local is a Kubernetes distribution that is optimized for developer desktops. It provides a consistent environment for developing, testing, and deploying applications on Kubernetes. In this post, I’ll be documenting how to run Red Hat OpenShift Local on an M3 Macbook Pro, along with some tips for overcoming common issues.
Prerequisites
Sign up for a Red Hat Developer account here in order to access the download link for Red Hat OpenShift Local.
Installation
- In the Red Hat Hybrid Cloud Console, go to Clusters -> Local
- Select
MacOSandaarch64in the dropdown fields, then clickDownload OpenShift Local. - Don’t forget to download or copy the
pull-secret.txtfile as you’ll need this during the installation process. - Once the download is complete, run the package installer and follow the on-screen instructions.
- After the packagage install is complete, run
crc setupto run the full installation process. - After the installation is complete, run
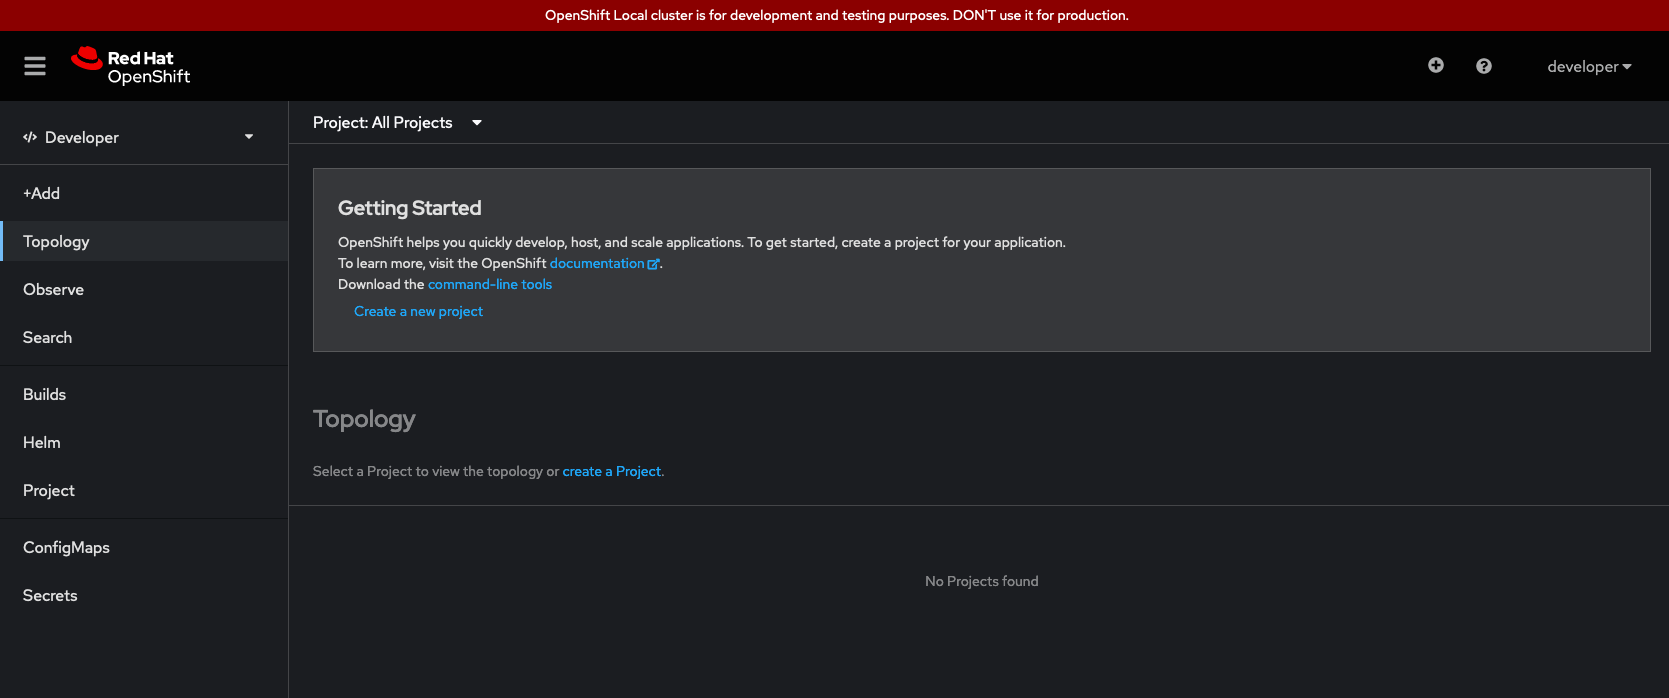
crc startto start the OpenShift Local cluster. You’ll be prompted to enter thepull-secret.txtfile you downloaded earlier. - Once the cluster is up and running, you can access the OpenShift console by navigating to the URL provided in the terminal and logging in with the credentials provided.
- You should now see something similar to the screenshot below.
